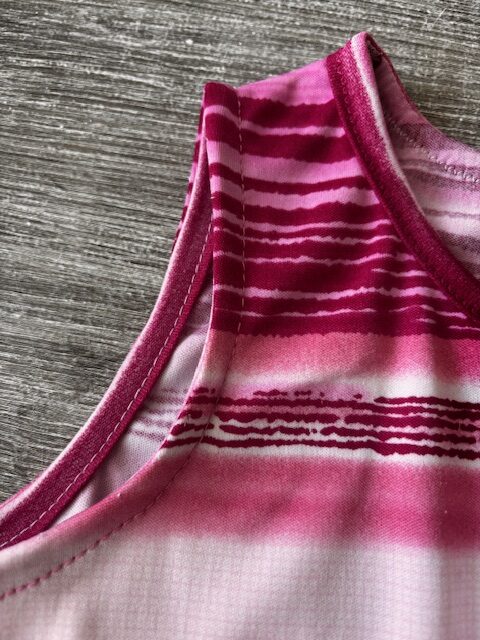
Many people find it difficult to sew binding and that you need a binding machine to get it looking nice. Here I'll show you a little trick on how you can make edging in an alternative way.

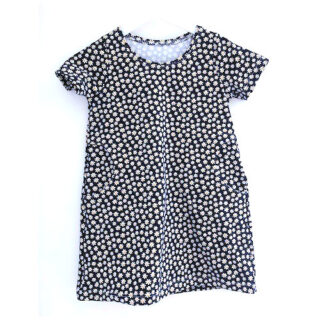
In this description I have used the pattern Basklänning where I add bias tape to the armhole instead of adding sleeves.

You need the same type of fabric for the bias tape as the garment.

You can click on the images in the description to make them larger.

  • 92-146

    Basklänning symönster


    Simple, knee-length, basic dress aka t-shirt dress in both fitted and straight models. Includes 2 sleeve lengths and optional pockets
    The pattern also works well as a nightgown.

    Add to cart

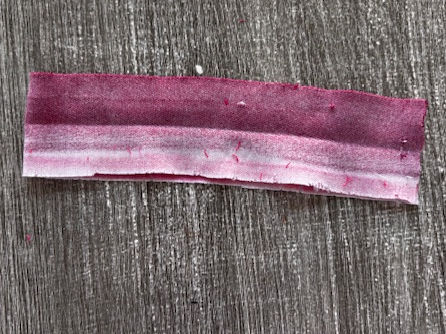
We are going to make, what will be our bias tape.

When sewing woven fabric, it is important to cut the binding on the bias. This means cutting the fabric on the diagonal, or 45 degrees to the grainline, which gives it some stretch. This is necessary for the binding to lie flat neatly

An alternative is to make the bias binding slightly longer than needed, and then sew the binding together using an overlapping seam with a folded edge, if it needs to be joined*. In this example, we will make the bias binding into a finished loop/ring.

Measure the fabric consumption/usage. In this case, I am going to bind the armhole, so I measure the length of the armhole where the seam will be. I measure this without the seam allowance.
If you are sewing woven fabric, your bias tape should be the same measurement as the edge you are binding, plus the seam allowance.
If you are sewing with elastic/stretch fabric, your bias binding should be about 10% shorter.

How wide the bias tape should be depends on how much seam allowance you have and how wide you want the finished result to be. I am using a 1 cm seam allowance and want the finished bias tape to be 1 cm wide. That totals 2 cm, and I then cut double that width, meaning 4 cm.

A general rule of thumb when sewing bias binding is not to include a seam allowance. This is because the bias tape is sewn folded over the edge of the fabric. In this specific case, we do need a seam allowance on the main fabric. So, if your pattern does not have a seam allowance, you need to add it where you plan to attach the bias tape.

Fold the bias binding right sides together (wrong side out) so that the short ends meet each other. Pin and sew the short end together to form a ring/loop.

After you have sewn the shoulder seam and the side seam*, fold the bias binding wrong sides together so that the long sides meet each other, forming a double-folded ring.

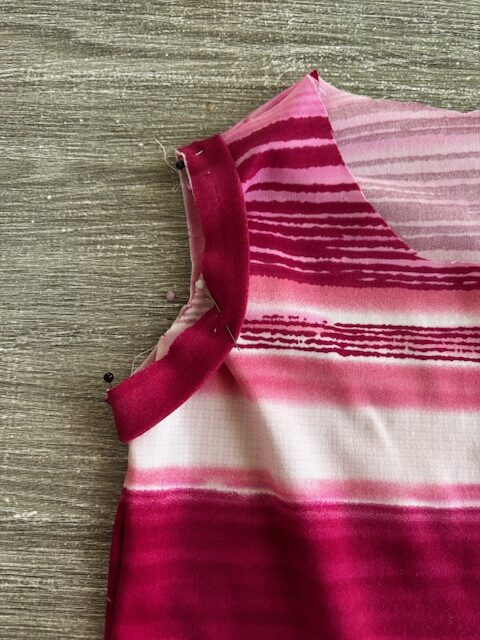
Om du vill ha kantbandet på insidan så nålar du fast det på tygets rätsida.
Om du vill ha kantbandet på utsidan så nålar du fast det på tygets rätsida.

Om du syr i tyg som stretchar så ska du nåla kantbandet (som då också ska vara stretch) lite kortare än tyget. Det gör du genom att dra lite i kantbandet när du nålar.
If you are sewing woven (non-stretch/stable) fabric, the bias binding should be the same length as the fabric edge

*Tip... You can also cut a longer piece of bias binding than you need; do not sew the side seam shut, but rather sew the bias binding onto the edge first. Then, cut the bias binding along the side seam and sew the side seam together afterwards.

Sew the bias tape in place using the seam allowance you added.

If you are sewing with fabric that stretches, you need to use a stitch that stretches. If you are sewing with woven fabric, you use a straight stitch.

Trim the seam allowance down to about half, making sure not to cut into the seam itself.

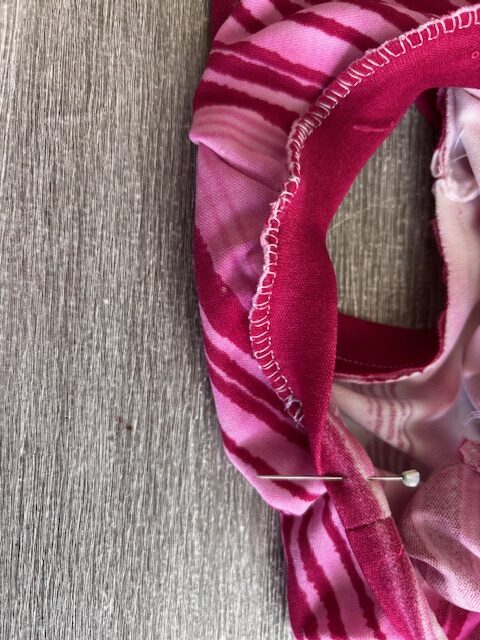
Fold the bias tape over; towards the right side if you want the binding on the outside, and towards the wrong side if you want the binding on the inside.

Pin and sew the bias tape in place. You use a stretch stitch if you are sewing with elastic fabric, and a straight stitch if you are sewing with woven fabric.

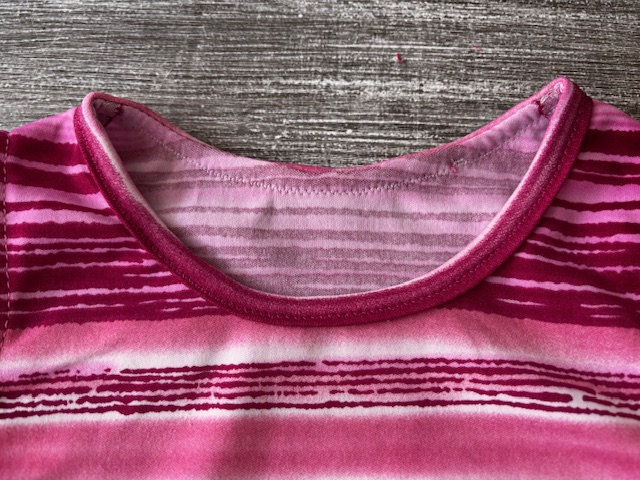
This is the result if you have the bias binding on the inside.

This is the result if you have the bias binding on the outside.

Leave a Reply

Your email address will not be published. Required fields are marked *

Cart

Cart

Your Cart is Empty

Back to store
Continue Shopping