

It happens sometimes that the machine misbehaves. For example, it might sound much louder than usual, or the seam doesn't look the way it should.
In the vast majority of cases, these are operator errors that you can easily remedy yourself.
You can click on the images to make them larger.
Cleaning the sewing machine
You should regularly clean and oil your sewing machine. It should be stated in your instruction manual how to do this for your specific machine.
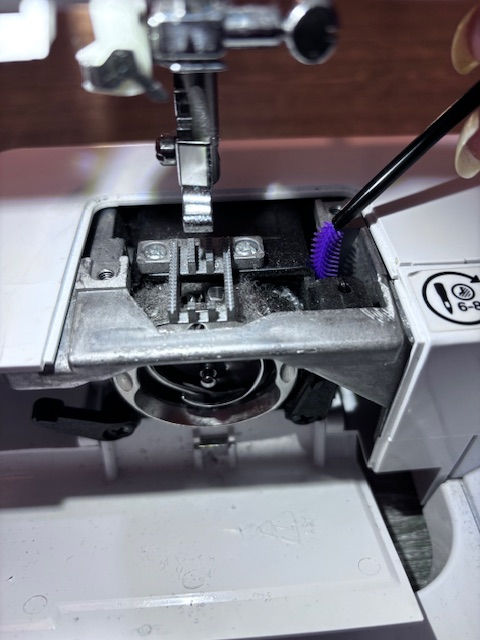
Lint will collect under the stitch plate. Eventually, there will be so much lint that the machine has difficulty working properly, and it can then both sew a poor-quality seam and also make noise.
Never blow lint into the machine. It might end up so far inside that you can't get it out yourself. Use a small brush to brush the lint out towards you. You can also use a vacuum cleaner to gently suck out lint and dust. Personally, I use a small handheld vacuum with tiny nozzles to remove the worst of it, and then I use a brush for the finer details.
You also need to lubricate your machine with sewing machine oil (which you can find in well-stocked grocery stores in addition to fabric shops), provided you don't have a self-lubricating/maintenance-free machine. How and where you should oil depends on which machine you have, so check your instruction manual for how to proceed with your specific machine. On most machines, it is the bobbin hook/rotary hook that needs a little help to glide smoothly. The bobbin hook is the part that rotates around and catches the upper thread. You probably have a hook holder that keeps the bobbin hook in place. It usually sits in place with small levers. Open the levers so you can remove the bobbin hook and the hook holder. Clean the parts with a clean cloth and then lubricate the outer edge of the bobbin hook before putting the parts back and locking the levers.
Try to remember to lubricate your machine regularly. If it sounds 'knocky' or 'bumpy' (clunky/thudding) when you sew, it is definitely time for some lubrication.
Needle change
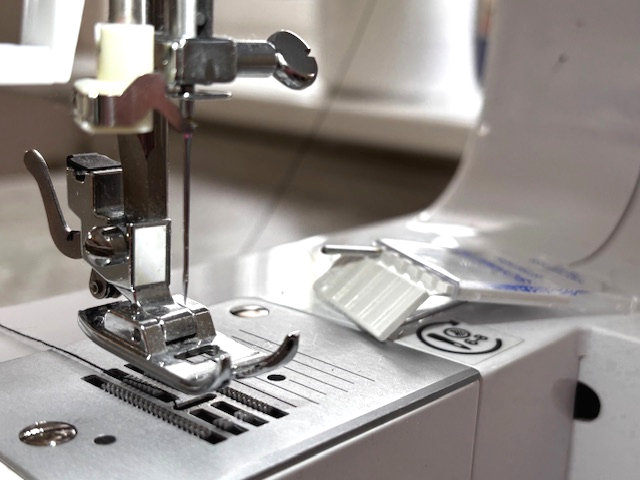
Did you know that you need to change your needle at regular intervals even if it hasn't broken? There is usually a small sticker on the machine and/or information in your instruction manual about how often the needle should be changed. It is usually around 6–8 hours of sewing time with that needle.
You need to do this because the tip of the needle becomes worn down. This can, in turn, cause the needle to make holes in the fabric. Even if you don't see it immediately after sewing the seam, the hole can get bigger when you start using your creation.
Another important thing when sewing is to use the right type of needle for your project. If you use the wrong type of needle, there is a high risk that your seam will become tangled/messy and/or that you will get unwanted holes in the fabric. You should also use a good quality needle, such as Schmetz, and above all, a needle that fits your machine. Your instruction manual specifies which type of needle fits your machine, for example, HAx1 or 15x1/705H.
The most common needles are the Stretch needle for sewing fabrics with elastane, such as cotton jersey, and the Universal needle for sewing non-stretch/stable fabrics, such as cotton poplin. The Microtex needle is also good to have at home if you want to sew very thin and tightly woven fabrics, such as silk.
A common misconception is that a Jersey needle is the same as a Stretch needle, and that's not surprising considering that 'jersey fabric' is the term used for 't-shirt knit fabric' in English. But the jersey needle is actually not the correct needle for elastic fabrics. A jersey needle is used for stretchy fabrics without elastane, such as knitted fabrics.
Thread tangling and skipped stitches
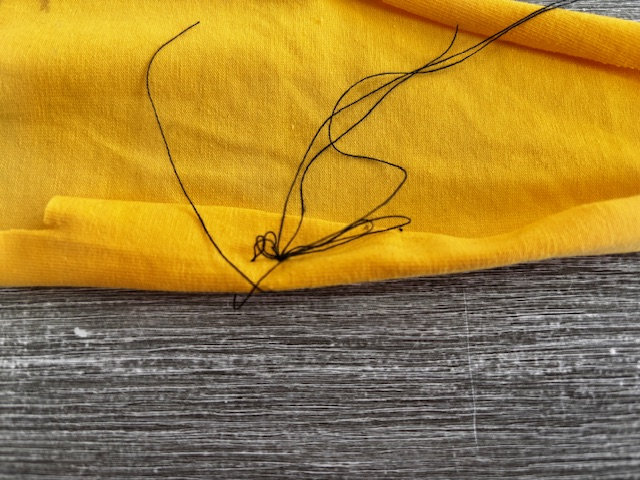
Even the most experienced seamstress probably encounters thread tangling/jamming and skipped stitches from time to time.
This can be due to several different factors, with incorrect threading, the wrong needle, and dirt/lint being the most common causes.
A little rule of thumb when troubleshooting is that if the seam is messy/ugly on the top side, the bobbin thread (bottom thread) is the cause, and vice versa. However, there are, of course, always exceptions to the rules.
- Was it a long time ago since you last cleaned the machine and/or have you recently sewn a fabric that produces a lot of lint? Proceed with cleaning the machine.
- Rethread the machine. Both the bobbin thread and the upper thread. Make sure the bobbin is facing the correct direction, meaning the thread/bobbin should spin clockwise. Test sew on a scrap piece of fabric of the same type that caused the tangling.
- Change the needle. Check that you are sewing with the correct type of needle. The wrong needle type often causes tangling, the same applies to a worn-out needle. Even if you inserted a brand new and correct needle, try changing to a new one anyway. It might be defective in some way. Test sew again.
- Change the thread. Rethread the machine with a different thread. Some machines don't like all threads, and even if you've sewn with this thread before, it might be that specific combination of fabric, thread, stitch, and needle that the machine doesn't like. Test sew again.
- Change the fabric. Take a scrap piece of a different fabric in the same needle category and try sewing to see if it works better.
- If you have a computerized sewing machine, turn off the machine and unplug it for 10 minutes. Computers can sometimes freeze up or glitch for no apparent reason, so a restart can be a good idea.
- Sometimes you just have those days where everything seems to go wrong and you can't find a solution. Leave the whole mess, eat a chocolate bar, and try again tomorrow!

Leave a Reply