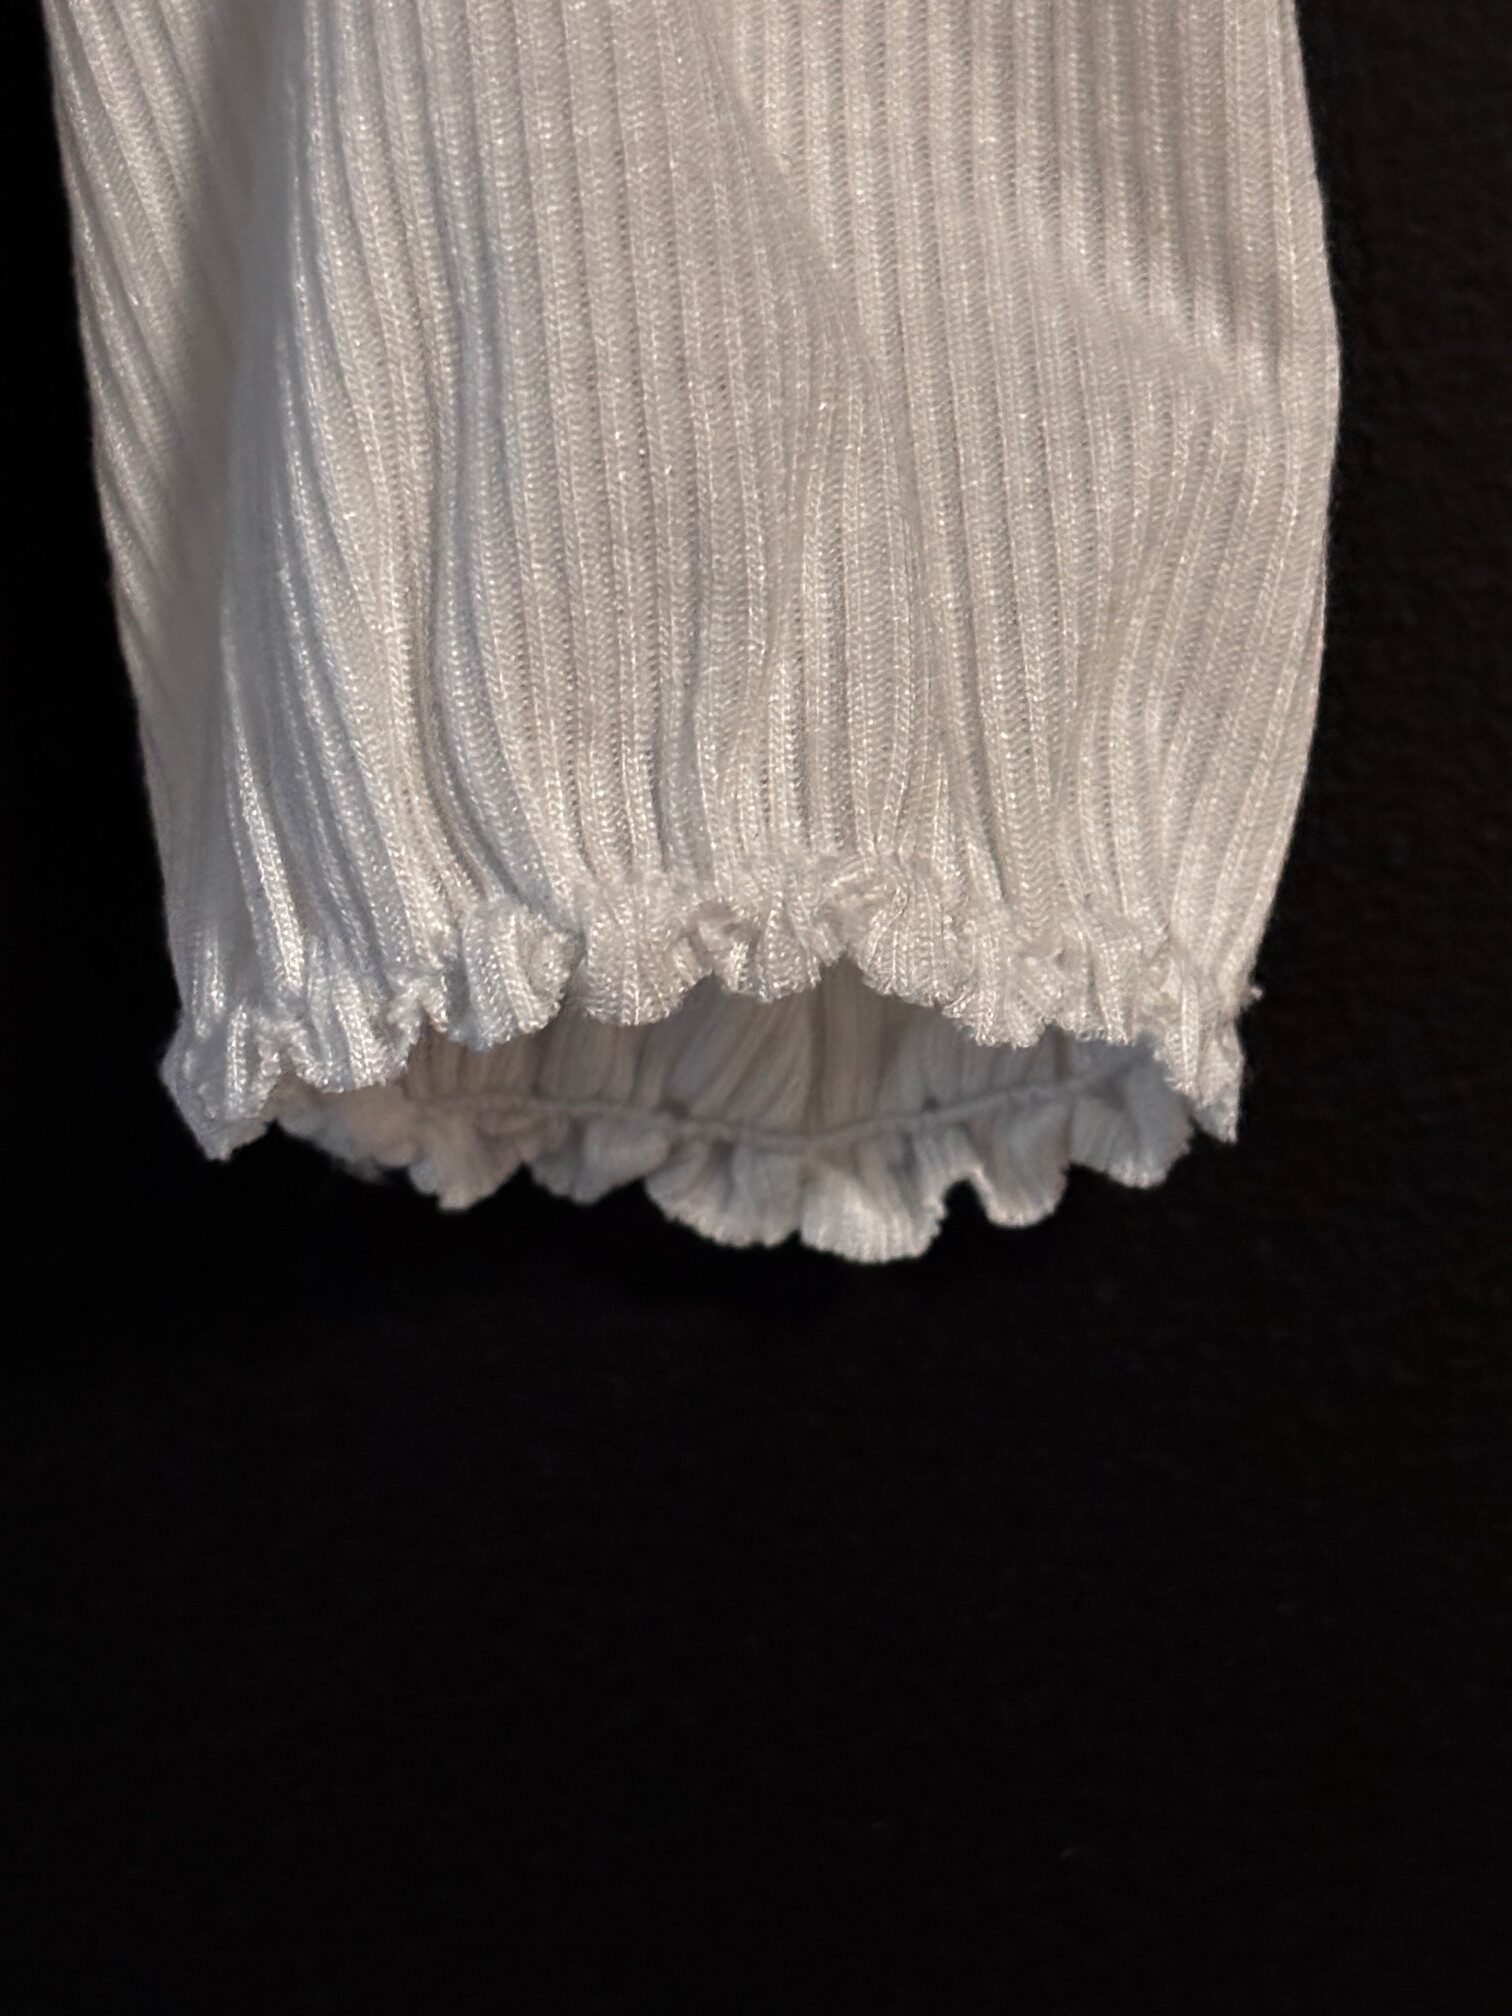

Store-bought clothes have many nice details that you might not think you can replicate on a domestic sewing machine, but most of them can actually be done in a similar way, even if you don't have a whole bunch of different industrial machines. Cute scalloped edges, for example, can be sewn using a blind hem stitch.

In this description, I used the Tisha pattern and finished the long sleeve with a blanket stitch finish instead of a traditional hem.

If you are sewing with jersey fabrics, you will also need elastic thread. This stitch is recommended for fabrics that do not fray at the edges, as we will be sewing on a raw edge (an edge that is just cut).

You can click on the images in the description to make them larger.

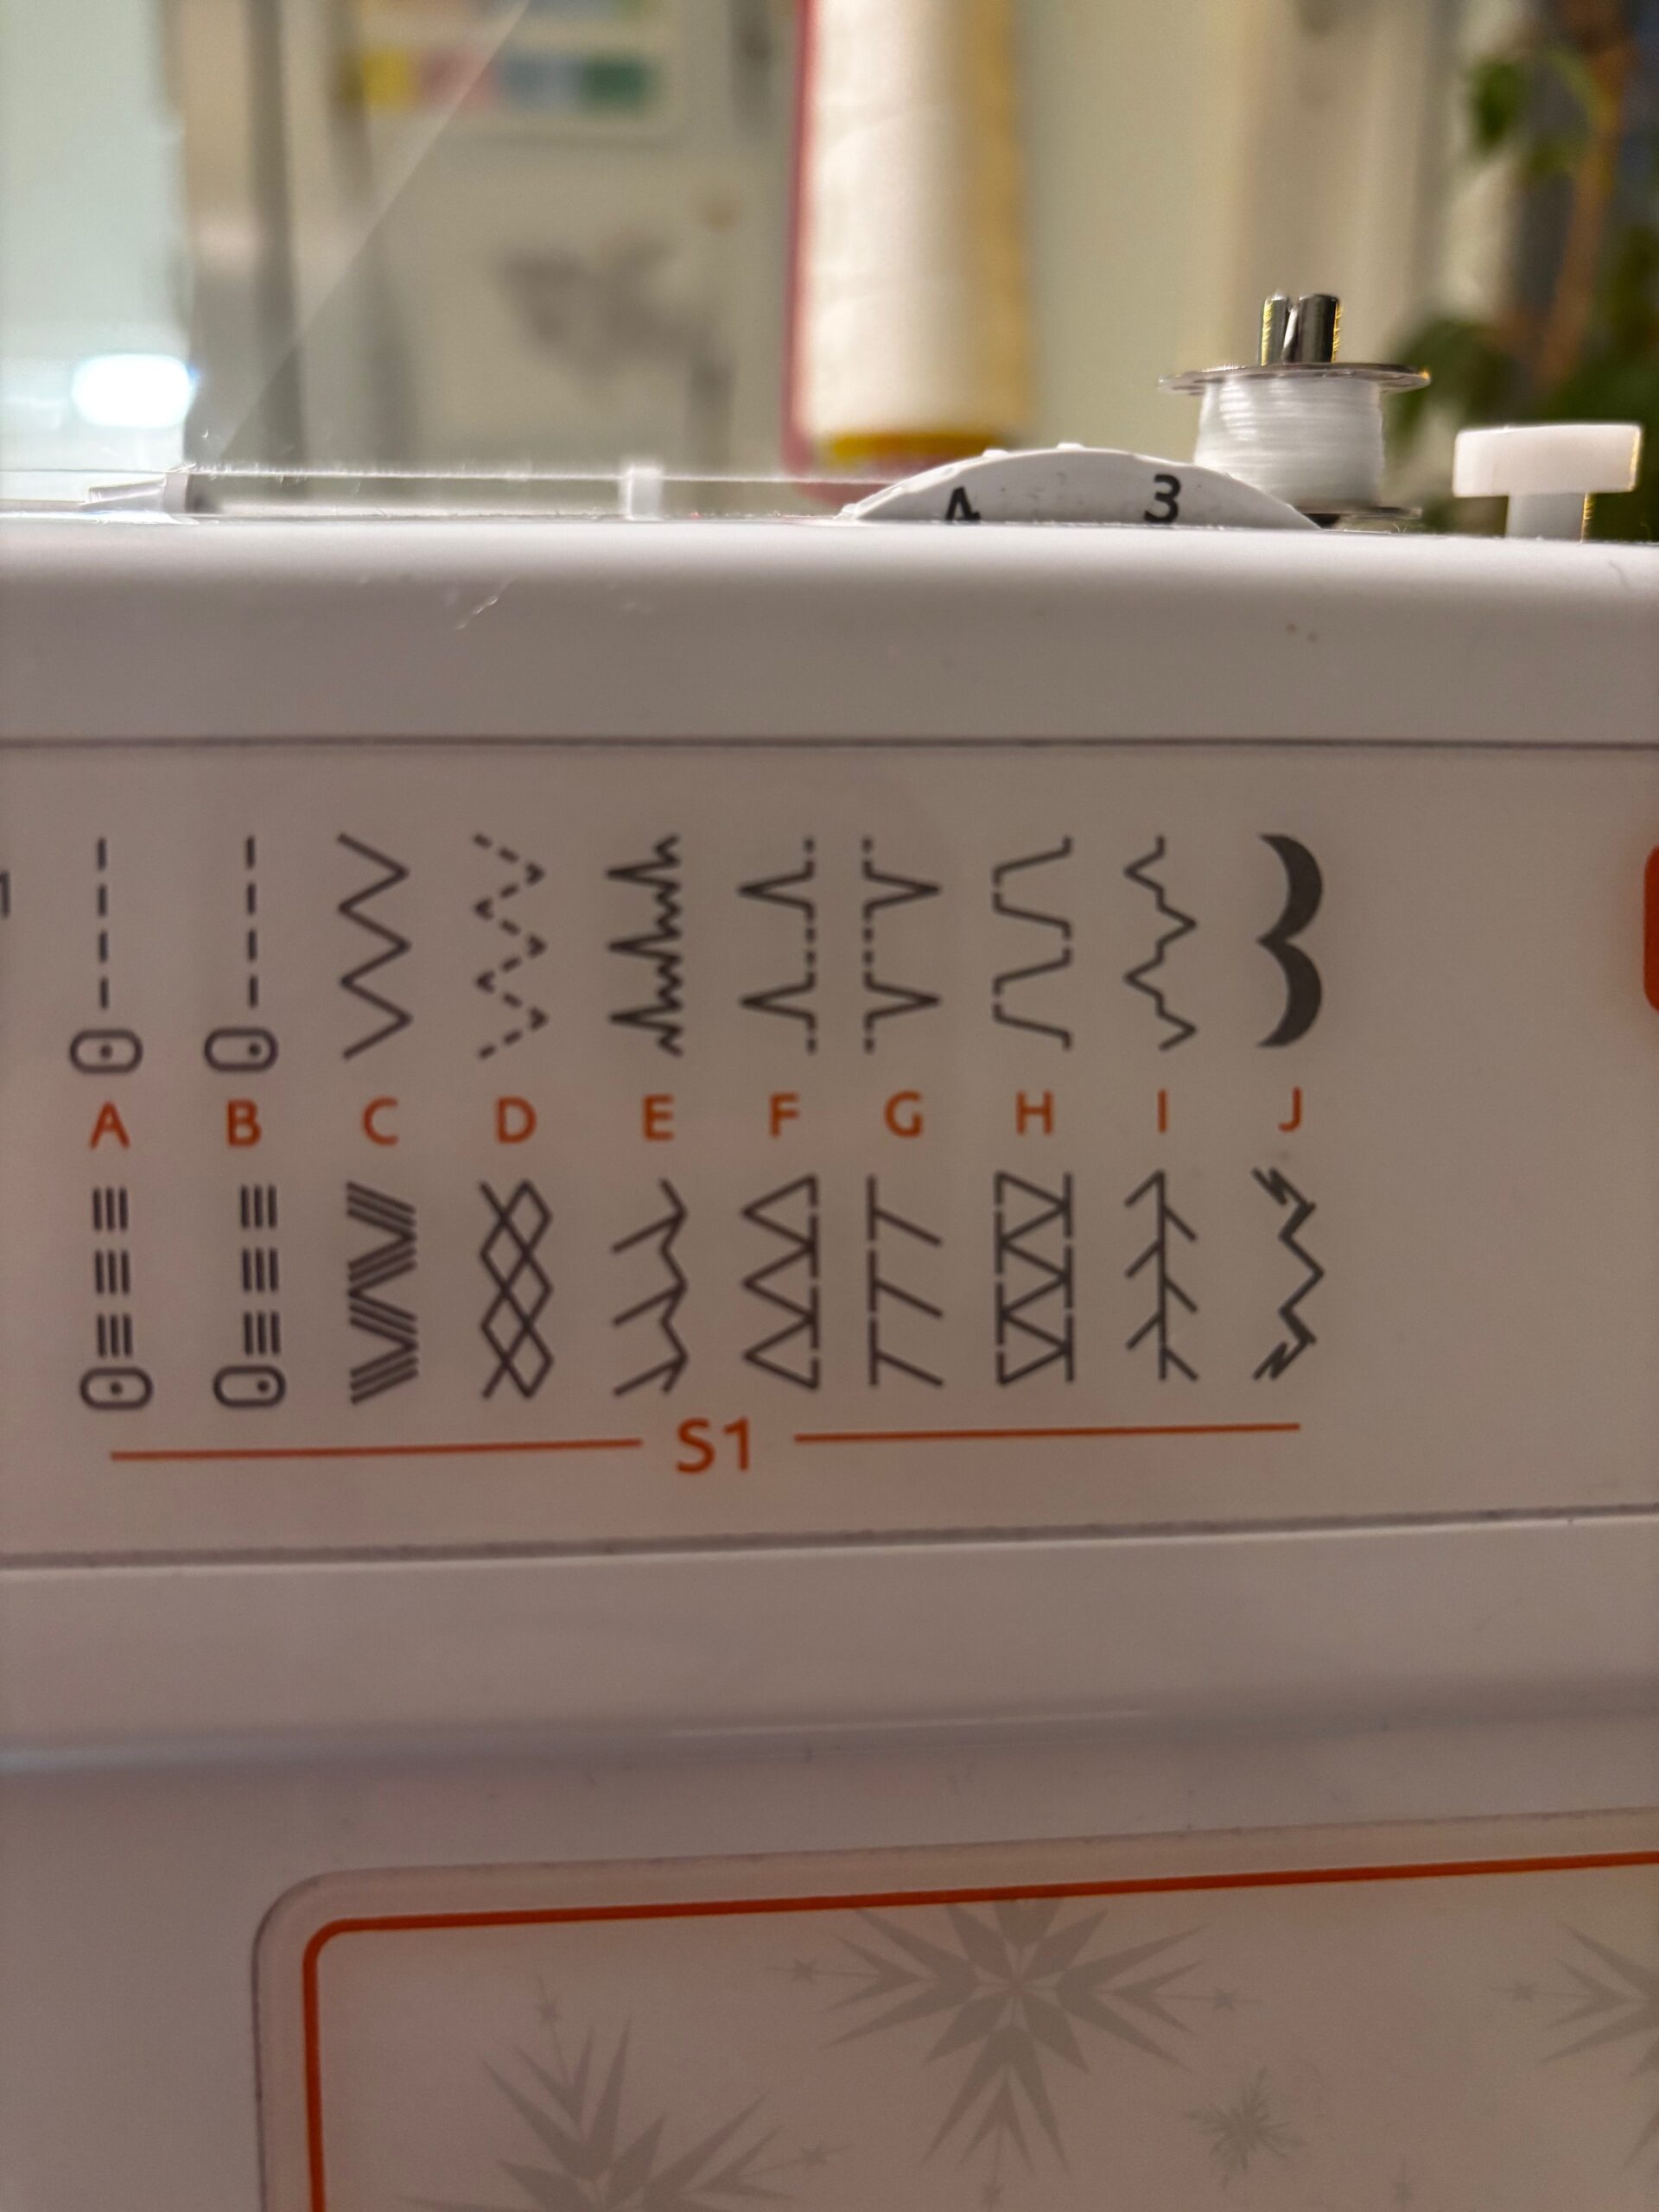
Most sewing machines have a blind hem stitch option. Some even have a blind hem stitch in two directions, like on this machine where it's option F and G on the top row. You can use either one, but I prefer G if it is available.

On my machine, I use the standard settings for stitch length (2.5) and thread tension (4). You may need to adjust this depending on your machine and the fabric you are sewing, so use a scrap piece of the same fabric you want to apply a blanket stitch edge to.

If you are sewing jersey fabrics (stretchy fabrics), you might want the seam to stretch. In that case, you will need elastic bobbin thread. Wind the elastic thread onto a bobbin. The thread should be reasonably taut when you wind it up.

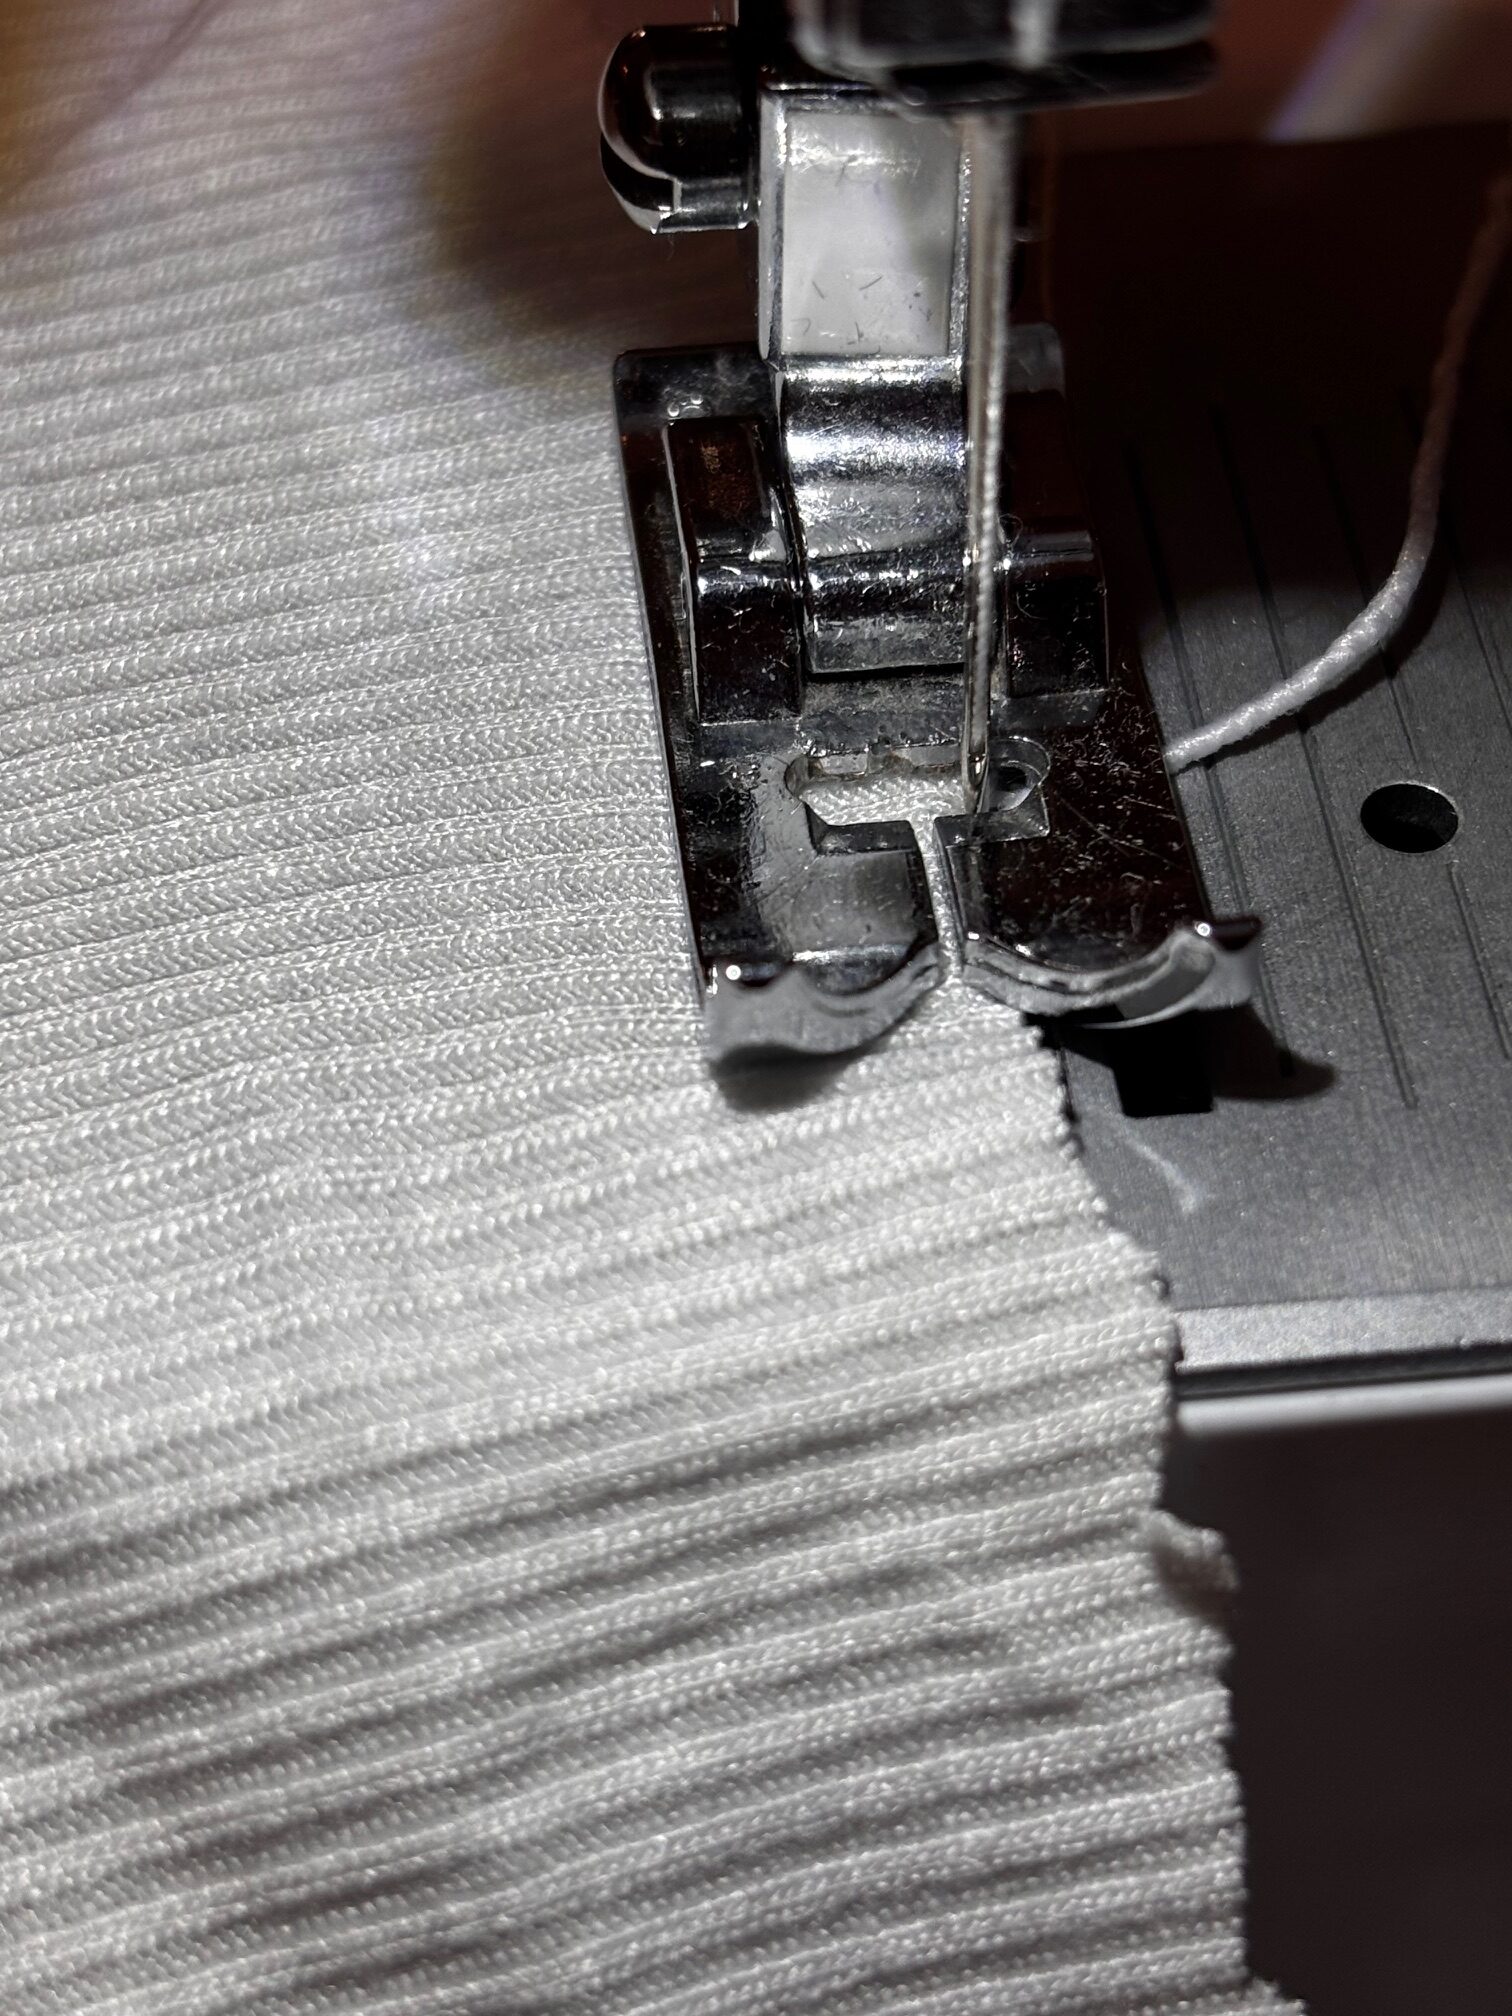
Cut, or trim, the fabric edge as straight as possible (in the picture it's a scrap piece, so it's cut a little carelessly)

Position the fabric so that the outermost needle position (needle drop point) strikes down just outside the fabric edge.
If you are using stitch F, the needle drop is on the left side. If you are using G, the needle drop is on the right side.

Sew at a slow speed along the entire edge, ensuring that the needle drop consistently strikes down just outside the fabric.

Begin and end the seam with backstitches. If you have elastic bobbin thread, tie it together with a double knot before cutting off the thread ends.

Leave a Reply

Your email address will not be published. Required fields are marked *