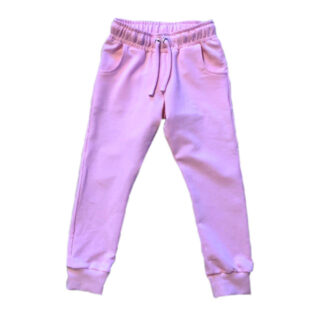
In this tutorial, I'll show you how to make your own fabric drawstring. Drawstrings are the cords you typically find in hoodie hoods.

Here, I've made a drawstring for the 'Basbrallan' pattern.

You will need:

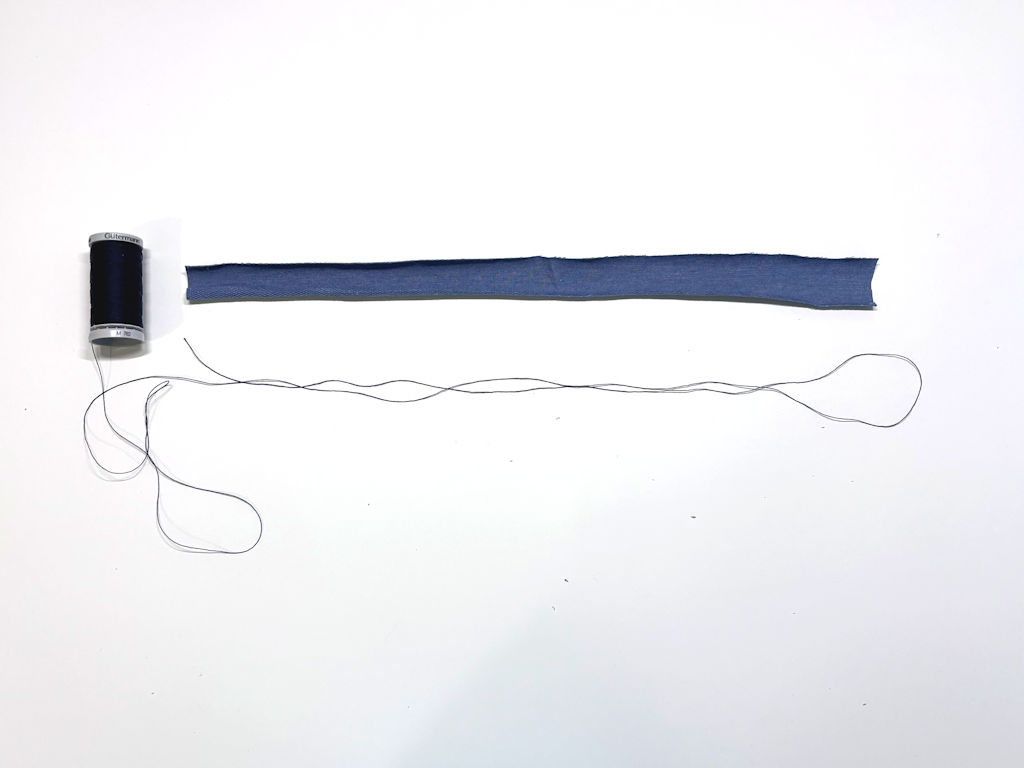
  • A fabric strip approx. 3 cm (1.25") wide x the length you need for the drawstring + approx. 10 cm (4").
  • Heavy-duty thread, 2 x the length of your fabric strip. You can also use crochet yarn or another type of thicker 'thread'.
  • Tape measure

You can click on the images in the description to make them larger.

The width of your fabric piece depends on how wide you want the drawstring to be. You will need your desired width x 2 + 1 cm for a 5 mm seam allowance. I chose a 1 cm wide drawstring, so the calculation is 1 x 2 + 1.

The length depends on how long you want your drawstring to be. I recommend making it at least 10 cm longer than what you actually need.

Cut your heavy-duty thread so that it is twice the length of your fabric piece, plus a few extra centimeters.
The reason we want to use heavy-duty thread is because we will be pulling on it later, so we need a strong thread that won't risk snapping.

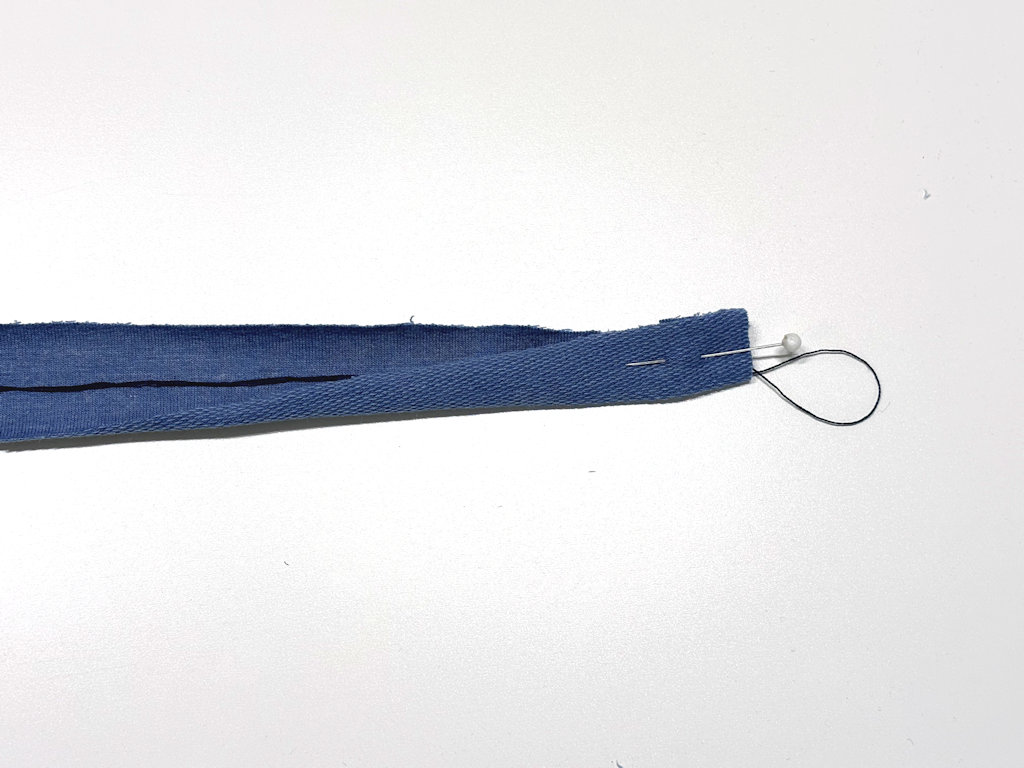
Place the thread folded in half along the center of the fabric strip's right side, so you have a loop sticking out at the short end. Fold the fabric over, right sides together, and pin the edge. Sew across the edge with a straight stitch to secure the thread.

Please note: Keep the strands of the thread slightly apart. The needle needs to come down between the two threads to catch and secure them.

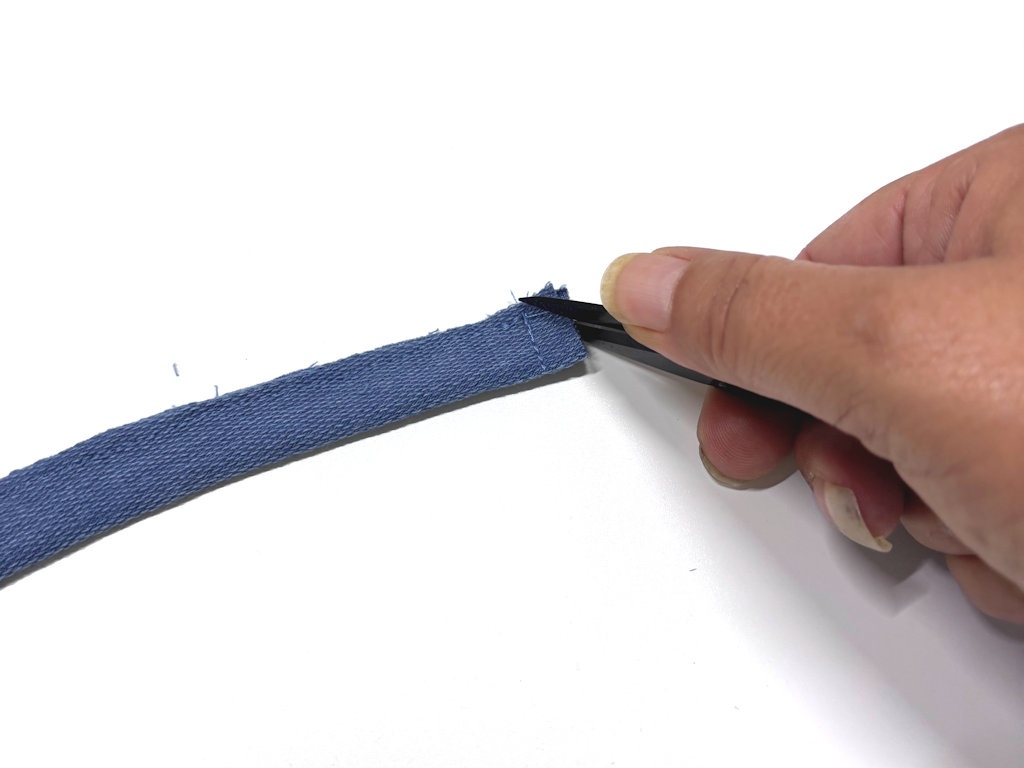
Once you have secured the heavy-duty thread, trim the two corners. Be careful not to cut the stitches or the thread.
Hold the seam allowance and pull on the ends of the heavy-duty thread to make sure it is securely fastened in the seam.

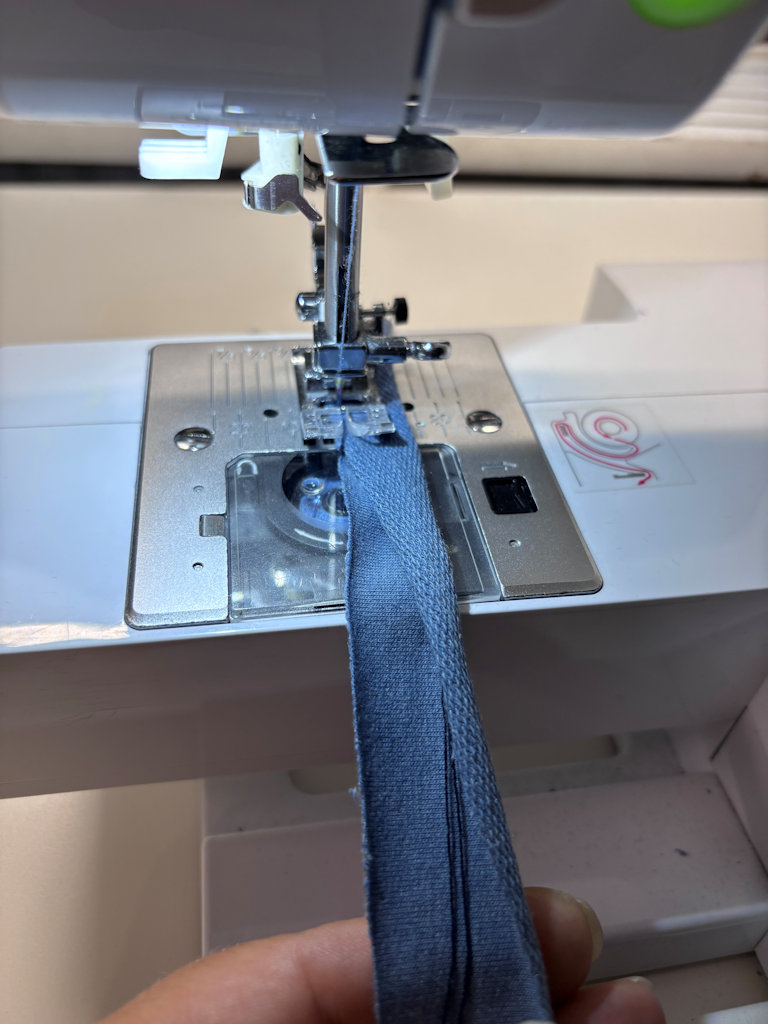
Now it's time to sew the long edge closed. Place the edge of the strip—the one with the straight stitch—right sides together under the presser foot, and lower the needle to create a 5 mm seam allowance.

Make sure your heavy-duty thread stays along the folded edge the entire time you are sewing, so you don't accidentally sew over it. Ensure that both outer raw edges are aligned side by side as you go.

If you are sewing with woven fabric, you can use a straight stitch; if you are sewing with knit or stretch fabric, you will need a narrow zigzag stitch. I use a stitch length of 1 and a stitch width of 1.5.
Please note: If you are using a woven fabric that frays, you may need to reinforce the edges so the seam allowance doesn't pull out through the stitches. For example, you can iron on a thin fusible interfacing to your fabric piece before you start sewing.
Another option is that, after finishing your drawstring, you press it flat with the seam on one edge, and topstitch along both long sides of the drawstring.

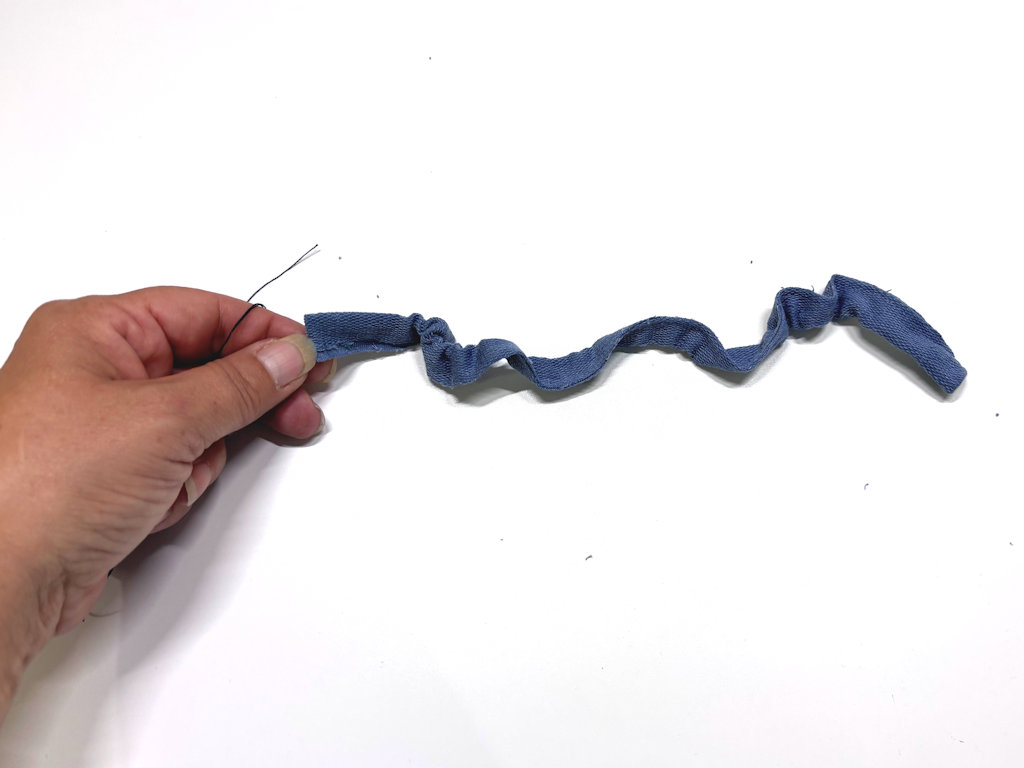
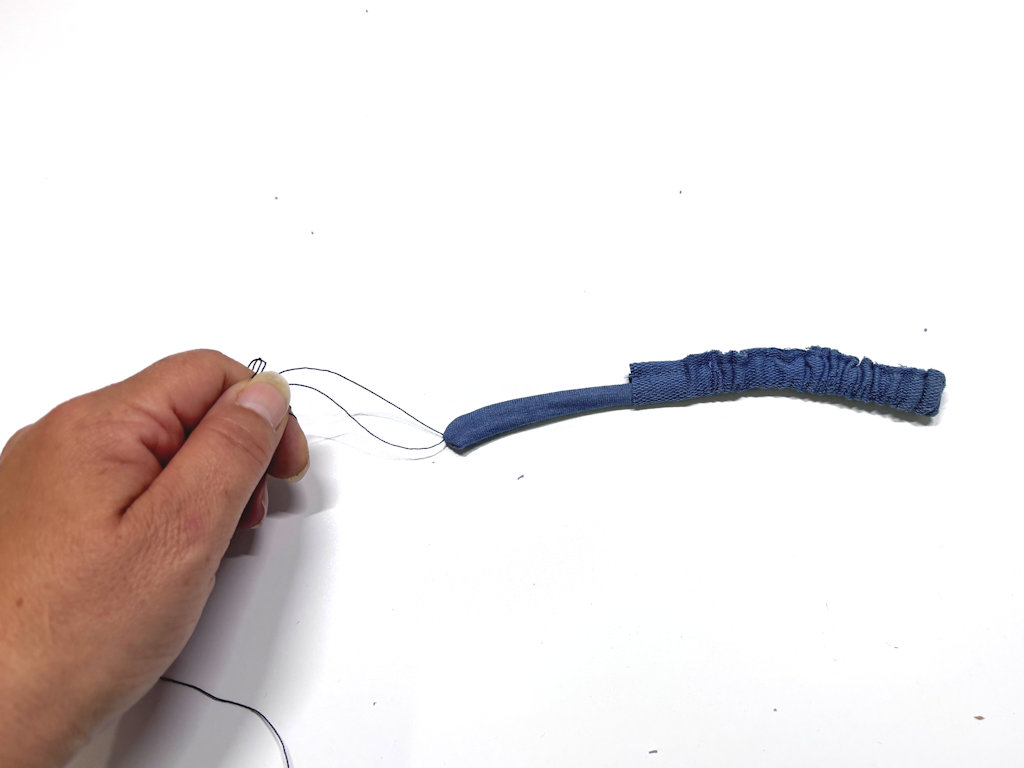
Hold onto the exposed heavy-duty thread and tug gently. At the same time, carefully hold the top edge and roll the fabric slightly between your fingers to help it start tucking inward into the tube.

As an alternative, you can turn the drawstring right side out as you sew.
My YouTube sew-along video shows you how to do this.
Click on the Sew-along logo to watch the video.
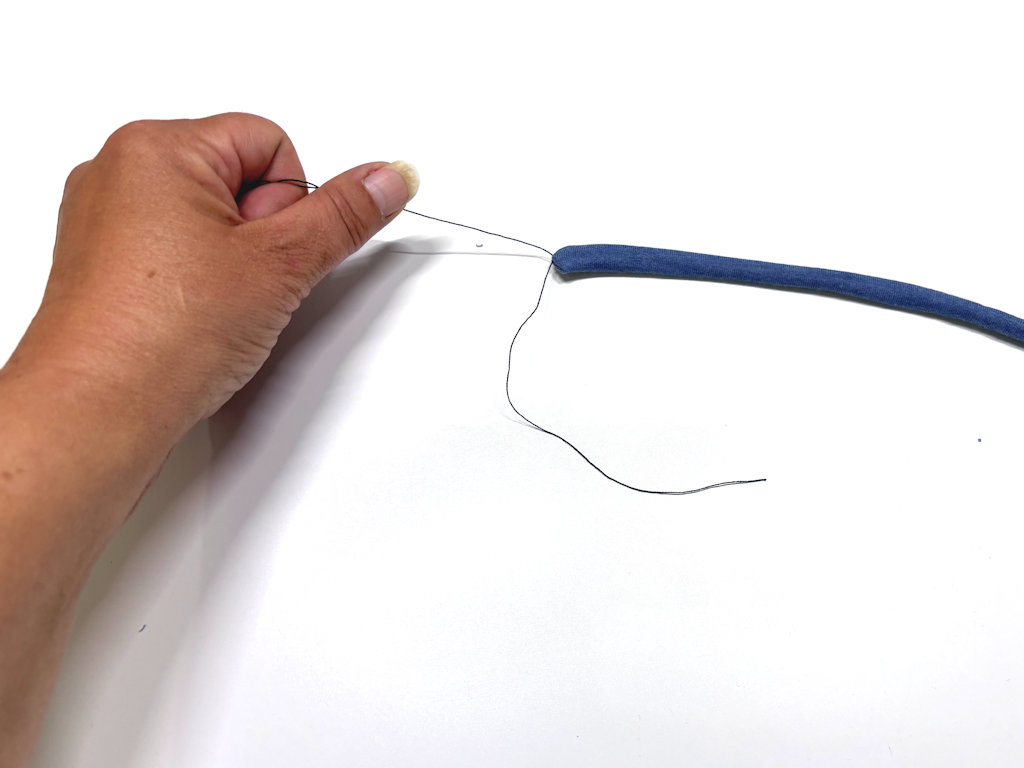
Keep pulling the thread while pushing the fabric up until your drawstring is completely turned right side out.

Once you have turned your drawstring right side out, remove the heavy-duty thread by pulling on one of the tails.

Leave a Reply

Your email address will not be published. Required fields are marked *