In this guide, I will show you how to make your own bias tape. These are strips cut on the bias, meaning the diagonal of the fabric. This makes them slightly stretchy and flexible.

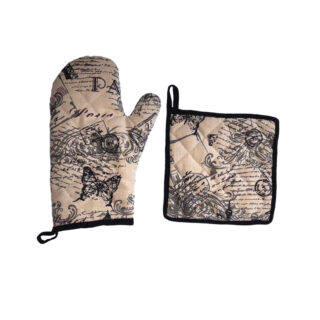
I've made this bias tape to create the binding for a potholder.

You can click on the images in the description to make them larger.

You will need a square of fabric. I have cut a piece that is 40 x 40 cm (approx. 16 x 16 inches), which will yield about 3.7 meters (approx. 4 yards) of bias tape.

The square is cut along the grainline. In this case, it's 40 cm along the length of the fabric and 40 cm across the width.

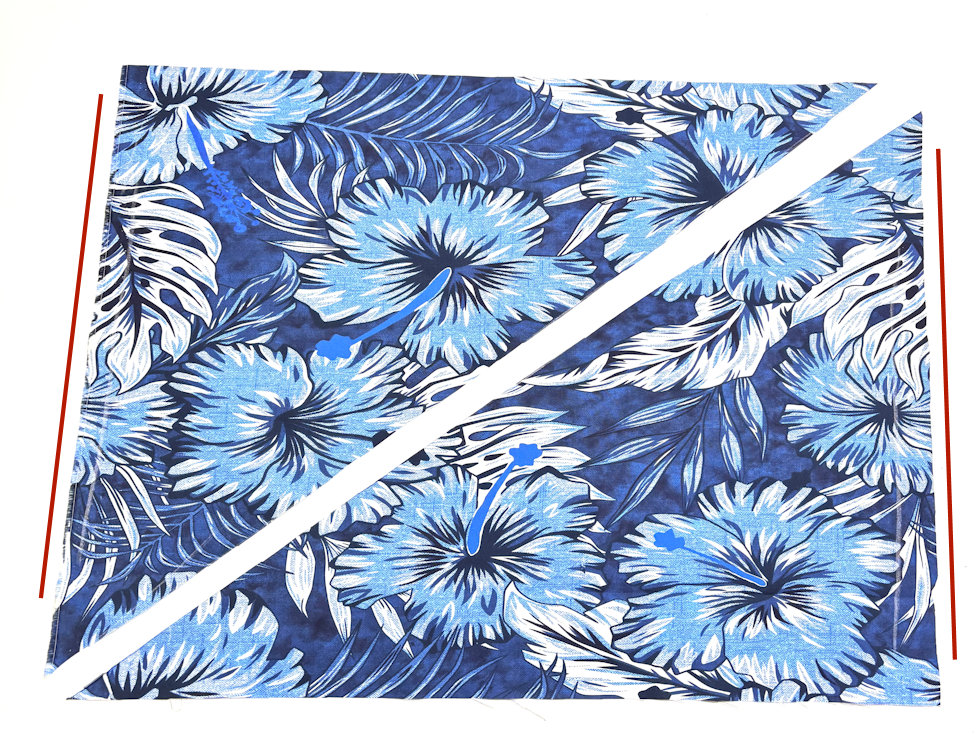
Then, cut the fabric into two triangles, from one corner to the opposite corner.

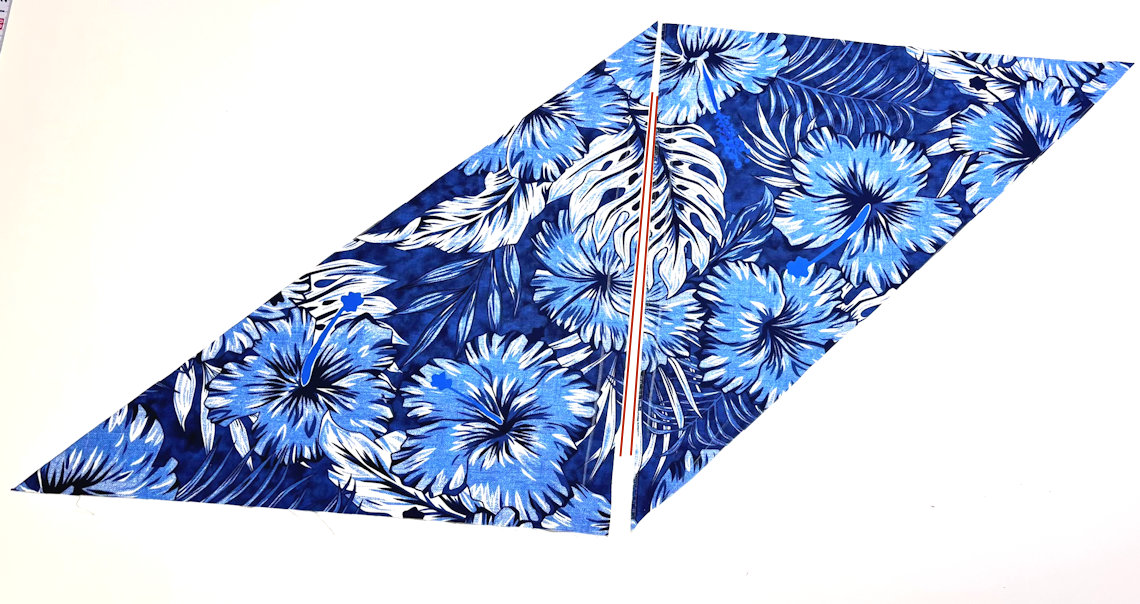
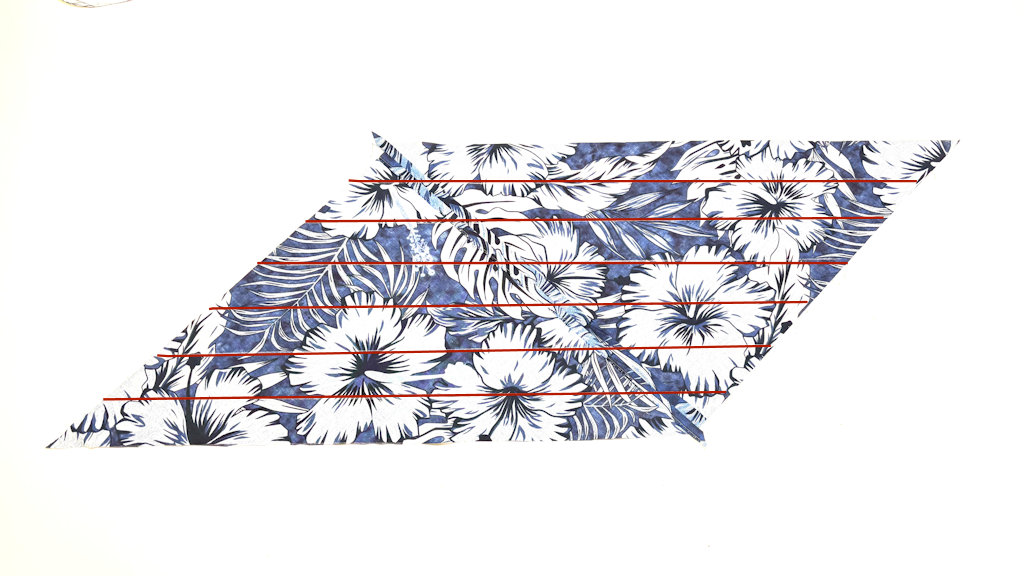
In the first image, I have marked two edges with red lines. Now, move the fabric pieces so that these edges are placed next to each other, as shown in this image.

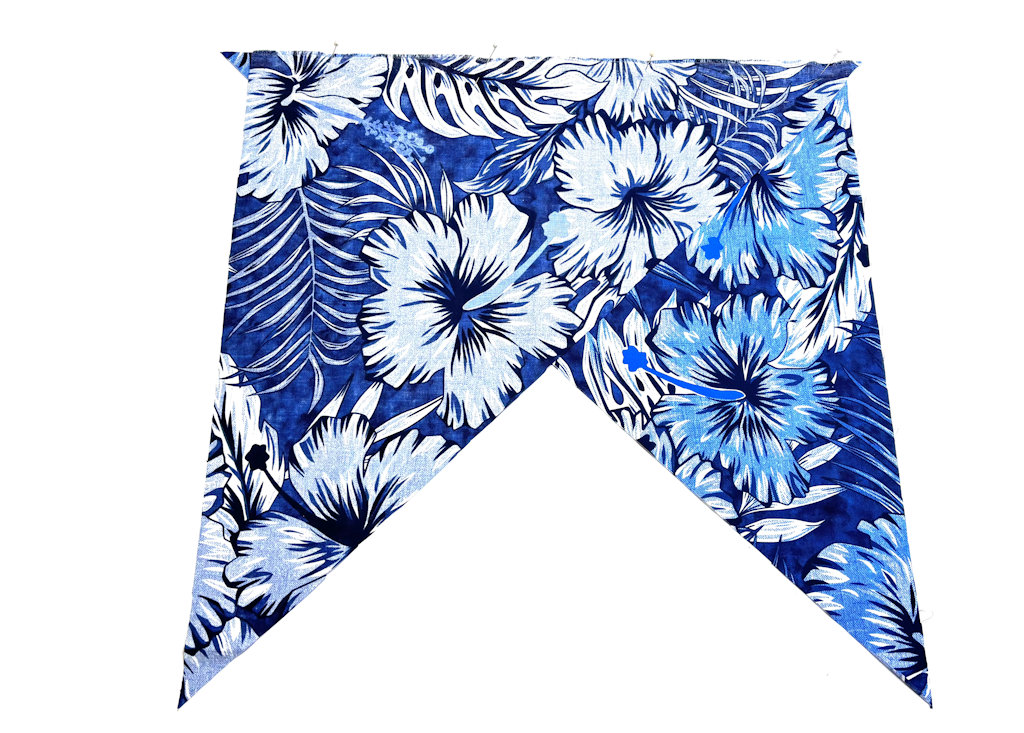
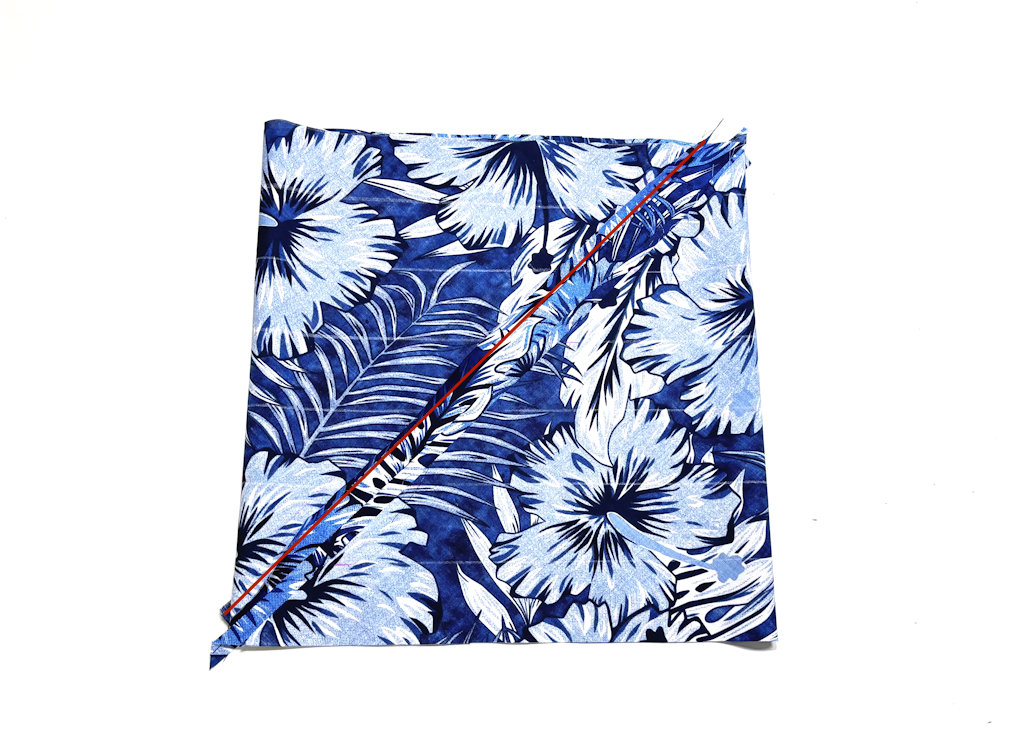
Now, place these pieces right sides together and pin the edge. These are the same edges that were marked in red in the previous images.

Sew the pieces together using a straight stitch. Use a seam allowance of 5-10 mm (approx. 1/4 inch).

Press the seam allowance open.

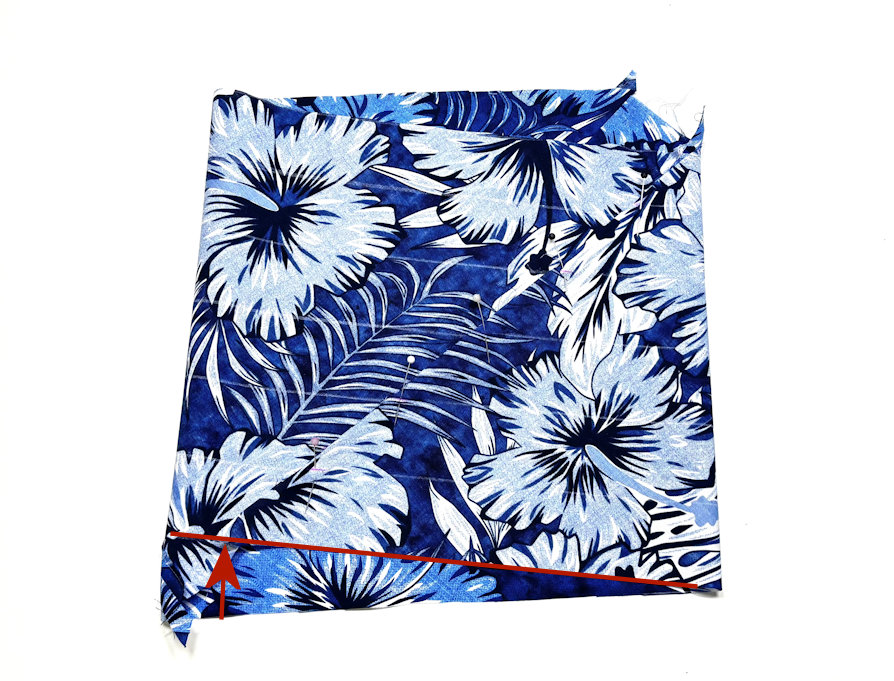
Then, mark out strips the width of your bias tape. I have chosen a width of 4 cm for my strips, simply because my ruler is 4 cm wide.

The width of the strips also depends on how wide you want your final binding to be.

If you want to use a bias tape maker, you need the strip to be twice the width of the tool. For example, for an 18 mm maker, you need a 36 mm wide strip. I am using a 25 mm maker, which technically requires a 50 mm wide strip. Since my strips are narrower, the folded edges will be slightly smaller—about 7 mm in this case, instead of the 12 mm they would be if the strip was 50 mm wide.

Place the fabric wrong side down and fold the edges to form a square, so that the lines you have drawn meet.

On one edge, fold a seam allowance wrong sides together.

Now, you are going to offset the lines.

Move the edge without the folded seam allowance up to the next line on the folded edge, so that your drawn lines form a continuous straight line.

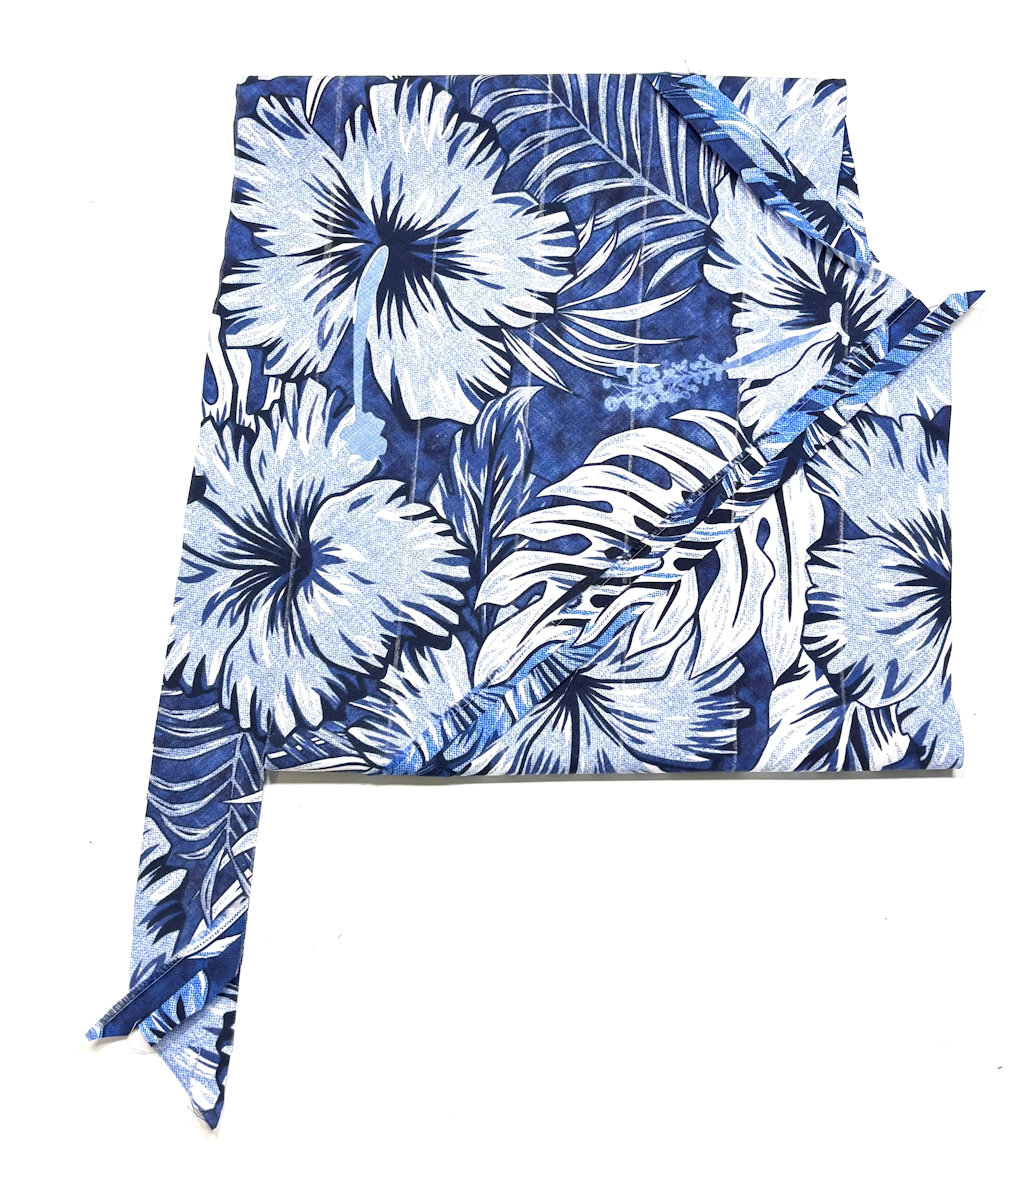
Pin the edges of the fabric together and sew with a straight stitch, using the same seam allowance that you used for the fold.

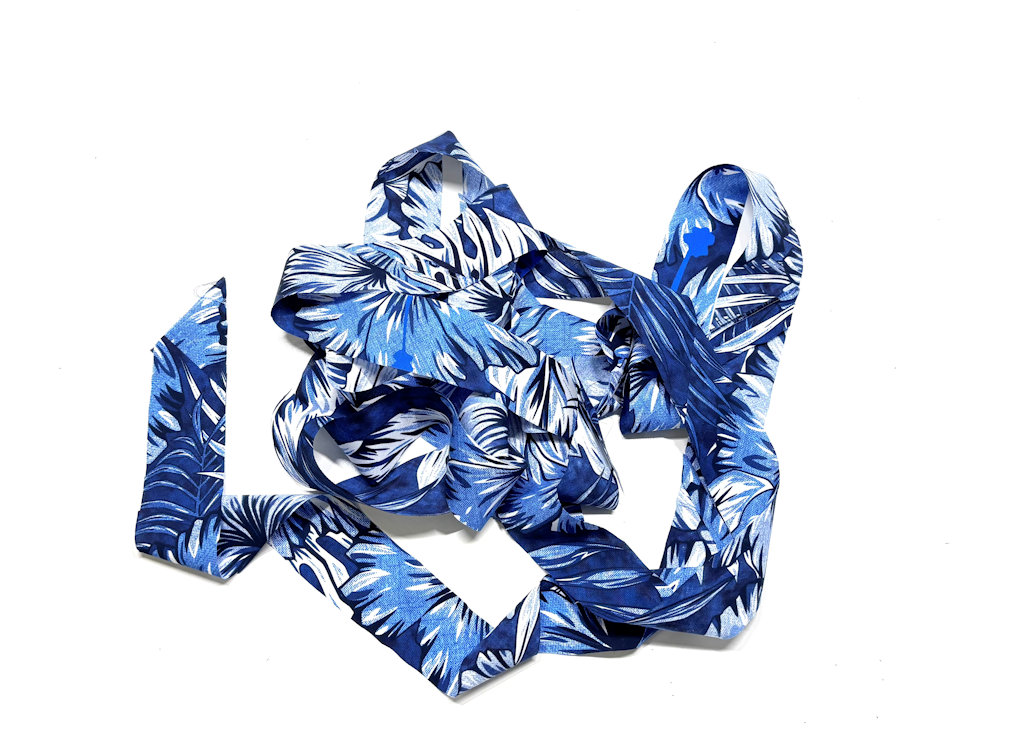
You should now have a tube. Start at one end and cut along the lines you drew. This will create one single, long strip as you cut.

Press your tape from the wrong side so that the seam allowances are pressed open.

Now, you can use a bias tape maker, for example, to create double-fold bias tape.

You can use an empty thread spool or a toilet paper roll to wind up your tape, ensuring it stays smooth and keeps its shape.

Leave a Reply

Your email address will not be published. Required fields are marked *